
When you’re ready to upgrade your outdoor space with synthetic turf, knowing exactly how to install fake grass can make the difference between a tidy, professional-looking finish and a lawn that looks DIY-sloppy. In this guide, we’ll walk you through the process of fake grass how to install with pro tips, from site preparation to trimming the edges, so you get a lush, durable result.
Why Choose Fake Grass?
Before diving into fake grass how to install, it’s worth understanding why artificial turf is a popular choice:
• Low maintenance – no mowing, minimal watering, and no fertilizers.
• Year-round greenery – a lawn that stays fresh even in off-season or drought.
• Versatile installation – can be placed on soil, patio, deck, or concrete.
• Long lifespan – when installed properly, fake grass can last up to 15 years.
Step 1: Plan & Measure Accurately
Proper planning is the first stage in fake grass how to install.
• Measure the area precisely; allow extra material for cutting and seams.
• Plan for any contours, slopes, or drainage needs.
• Choose the right turf type depending on use – soft turf for kids or durable for pets.
• Avoid irregular shapes where possible to make fitting and joining easier.
Step 2: Remove Existing Surface & Excavate
Now you’re ready to dig in (literally) for fake grass how to install.
• Remove existing turf, topsoil, and debris.
• Excavate to a depth of 50–100 mm to make room for the base layers.
• Ensure the area is free of roots, stones, or anything that may damage the turf.
• Compact the soil to create a firm, even surface.
Step 3: Create a Solid Base & Ensure Drainage
A major factor in successful fake grass how to install is the base preparation:
• Spread a layer of crushed stone or type 1 aggregate to promote drainage.
• Add a fine layer of sharp sand or stone dust for leveling.
• Compact the base thoroughly using a plate compactor.
• Make sure the surface is smooth, firm, and slightly sloped for water runoff.
Step 4: Lay a Weed Barrier & Prepare the Turf
For the next phase of fake grass how to install:
• Lay down a weed-suppressing membrane to prevent unwanted growth.
• Unroll the fake grass and leave it for a few hours to settle and relax.
• Make sure the grass blades face the same direction for a uniform appearance.
• Trim the turf roughly to fit before securing it permanently.
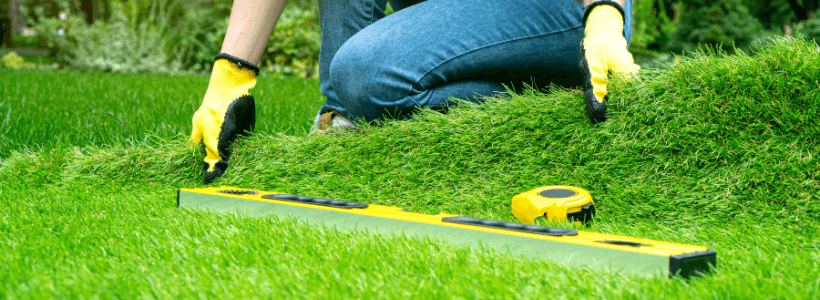
Step 5: Fit the Turf & Secure the Edges
This is where your lawn really starts to take shape.
• Cut the turf carefully along edges using a sharp knife.
• Align multiple pieces so the pile direction matches.
• Join seams using adhesive tape or glue designed for artificial grass.
• Fix the edges using nails, U-pins, or landscaping spikes for a tight fit.
Step 6: Add Infill, Brush & Finish
To complete a professional finish in your fake grass how to install process:
• Spread kiln-dried silica sand or approved infill evenly across the surface.
• Brush the turf against the grain using a stiff broom or power brush.
• Check the surface from different angles to ensure evenness.
• Add more sand where needed to keep the blades upright and stable.
Step 7: Maintenance to Keep It Looking Great
Although one of the biggest benefits of artificial turf is low maintenance, some care will keep it looking new.
• Rinse the surface occasionally to remove dust or dirt.
• Brush the grass regularly to prevent flattening of fibers.
• Inspect the edges and seams for lifting and re-secure if needed.
• Remove leaves and debris to maintain drainage and appearance.
Pro Tips & Pitfalls to Avoid
When you’re serious about fake grass how to install like a pro, keep these extra tips in mind:
• Don’t skip the base preparation – it’s the foundation of the whole project.
• Make sure drainage is sufficient to prevent puddling.
• Keep the turf pile direction consistent across all rolls.
• Order your grass in one batch to avoid slight color or texture variations.
• Use proper installation tools for clean cuts and tight seams.
Mastering fake grass how to install means paying attention to every stage – from careful planning and solid base preparation to neat trimming and finishing touches. Done right, you’ll have a lawn that looks as if it was installed by a professional: smooth, consistent, and beautiful all year long.
If the task feels big, professional installers can help, but by following these steps, you’ll be ready to achieve impressive, long-lasting results on your own.


Comments